
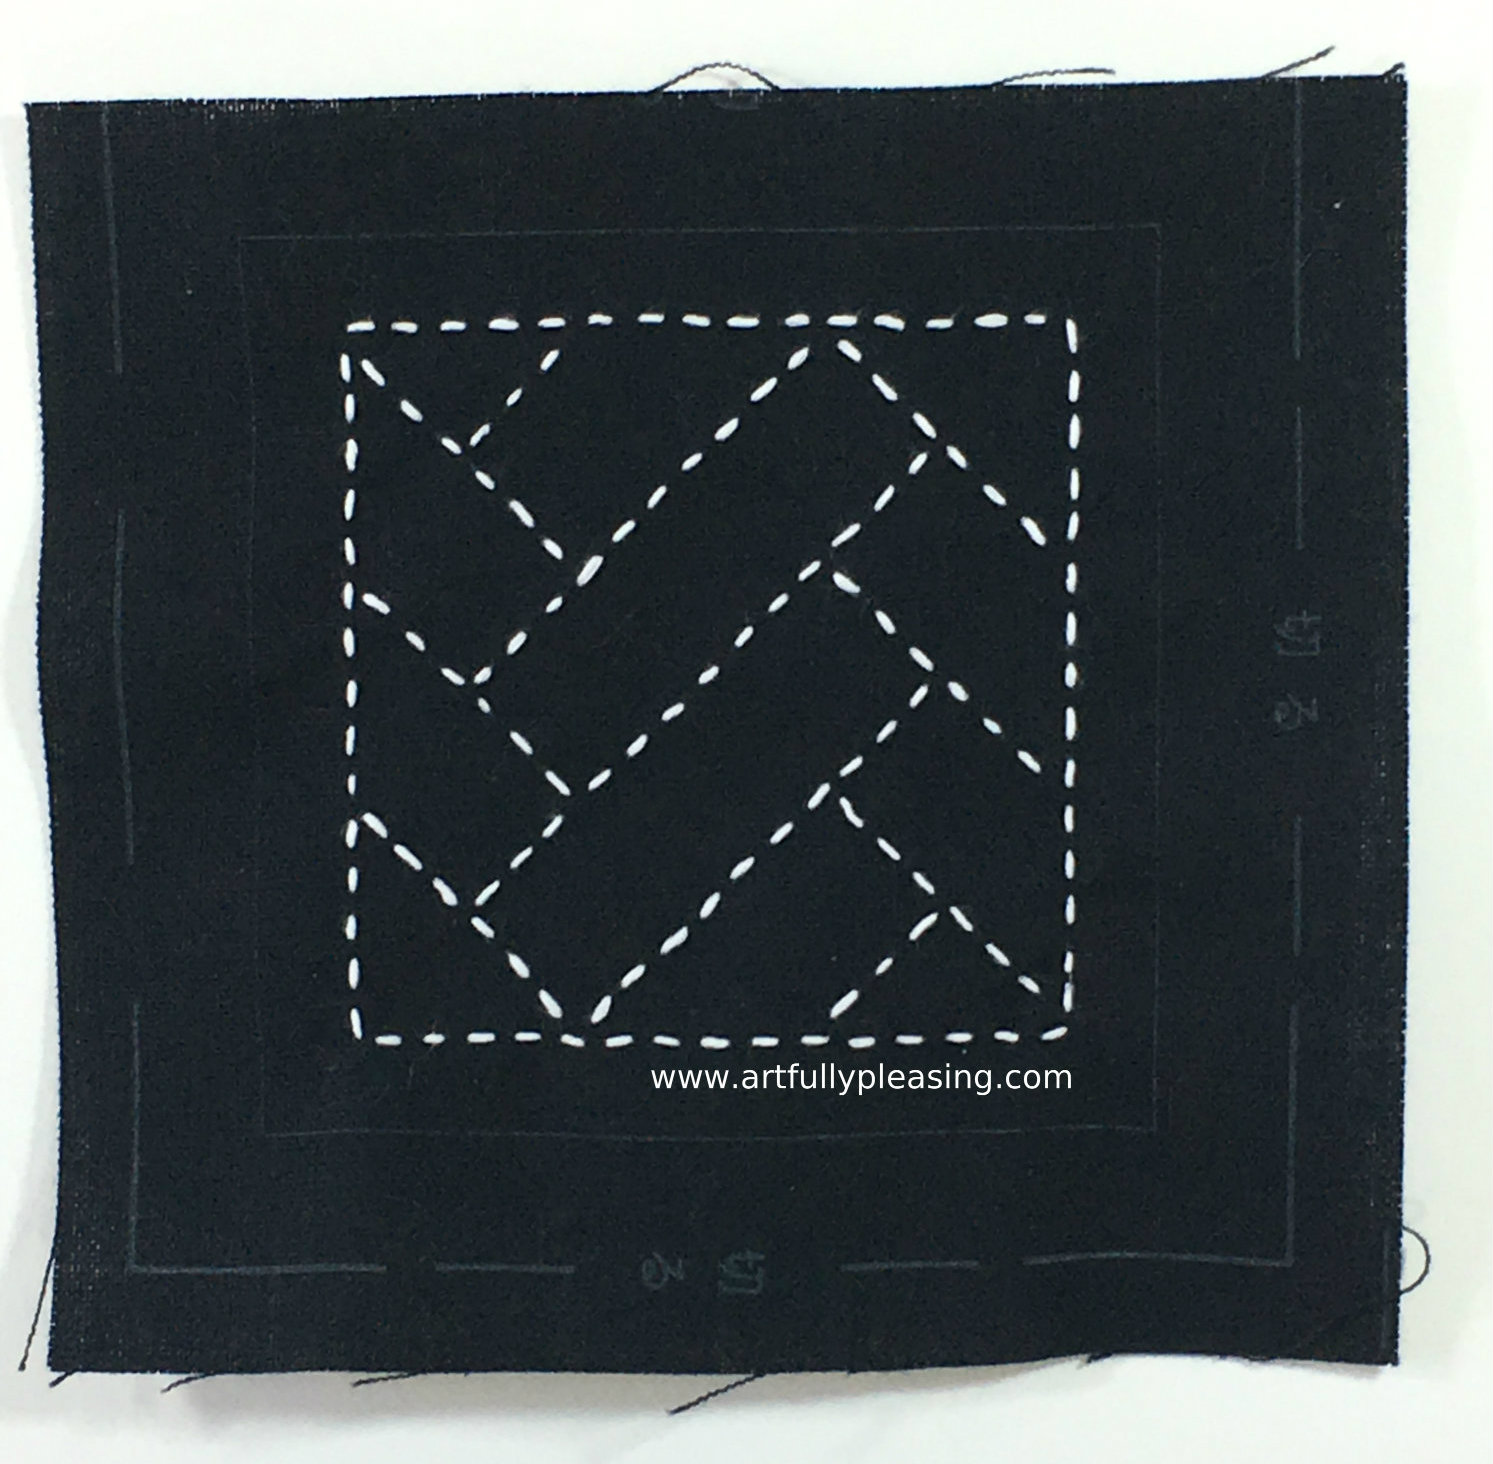
Sashiko, simply put, is a Japanese embroidery technique. What makes it easy is that it requires only knowing how to make a running stitch.
Well here’s a running stitch.
That’s it. Really. Using a sashiko needle which is long with a large eye, you put several stitches on this needle and pull it through your fabric. Just make sure that your fabric is not so tightly woven that you’re tugging to pull the needle through the fabric. You do not want puckering around the stitches. 100% cotton (or cotton linen blend) is recommended.
Getting started: I purchased a sashiko kit containing 5 designs instead of making my own designs. Also needed is the sashiko thread and sashiko needle (usually 2-3 inches in length) Some people use a long embroidery needle and perle cotton thread.
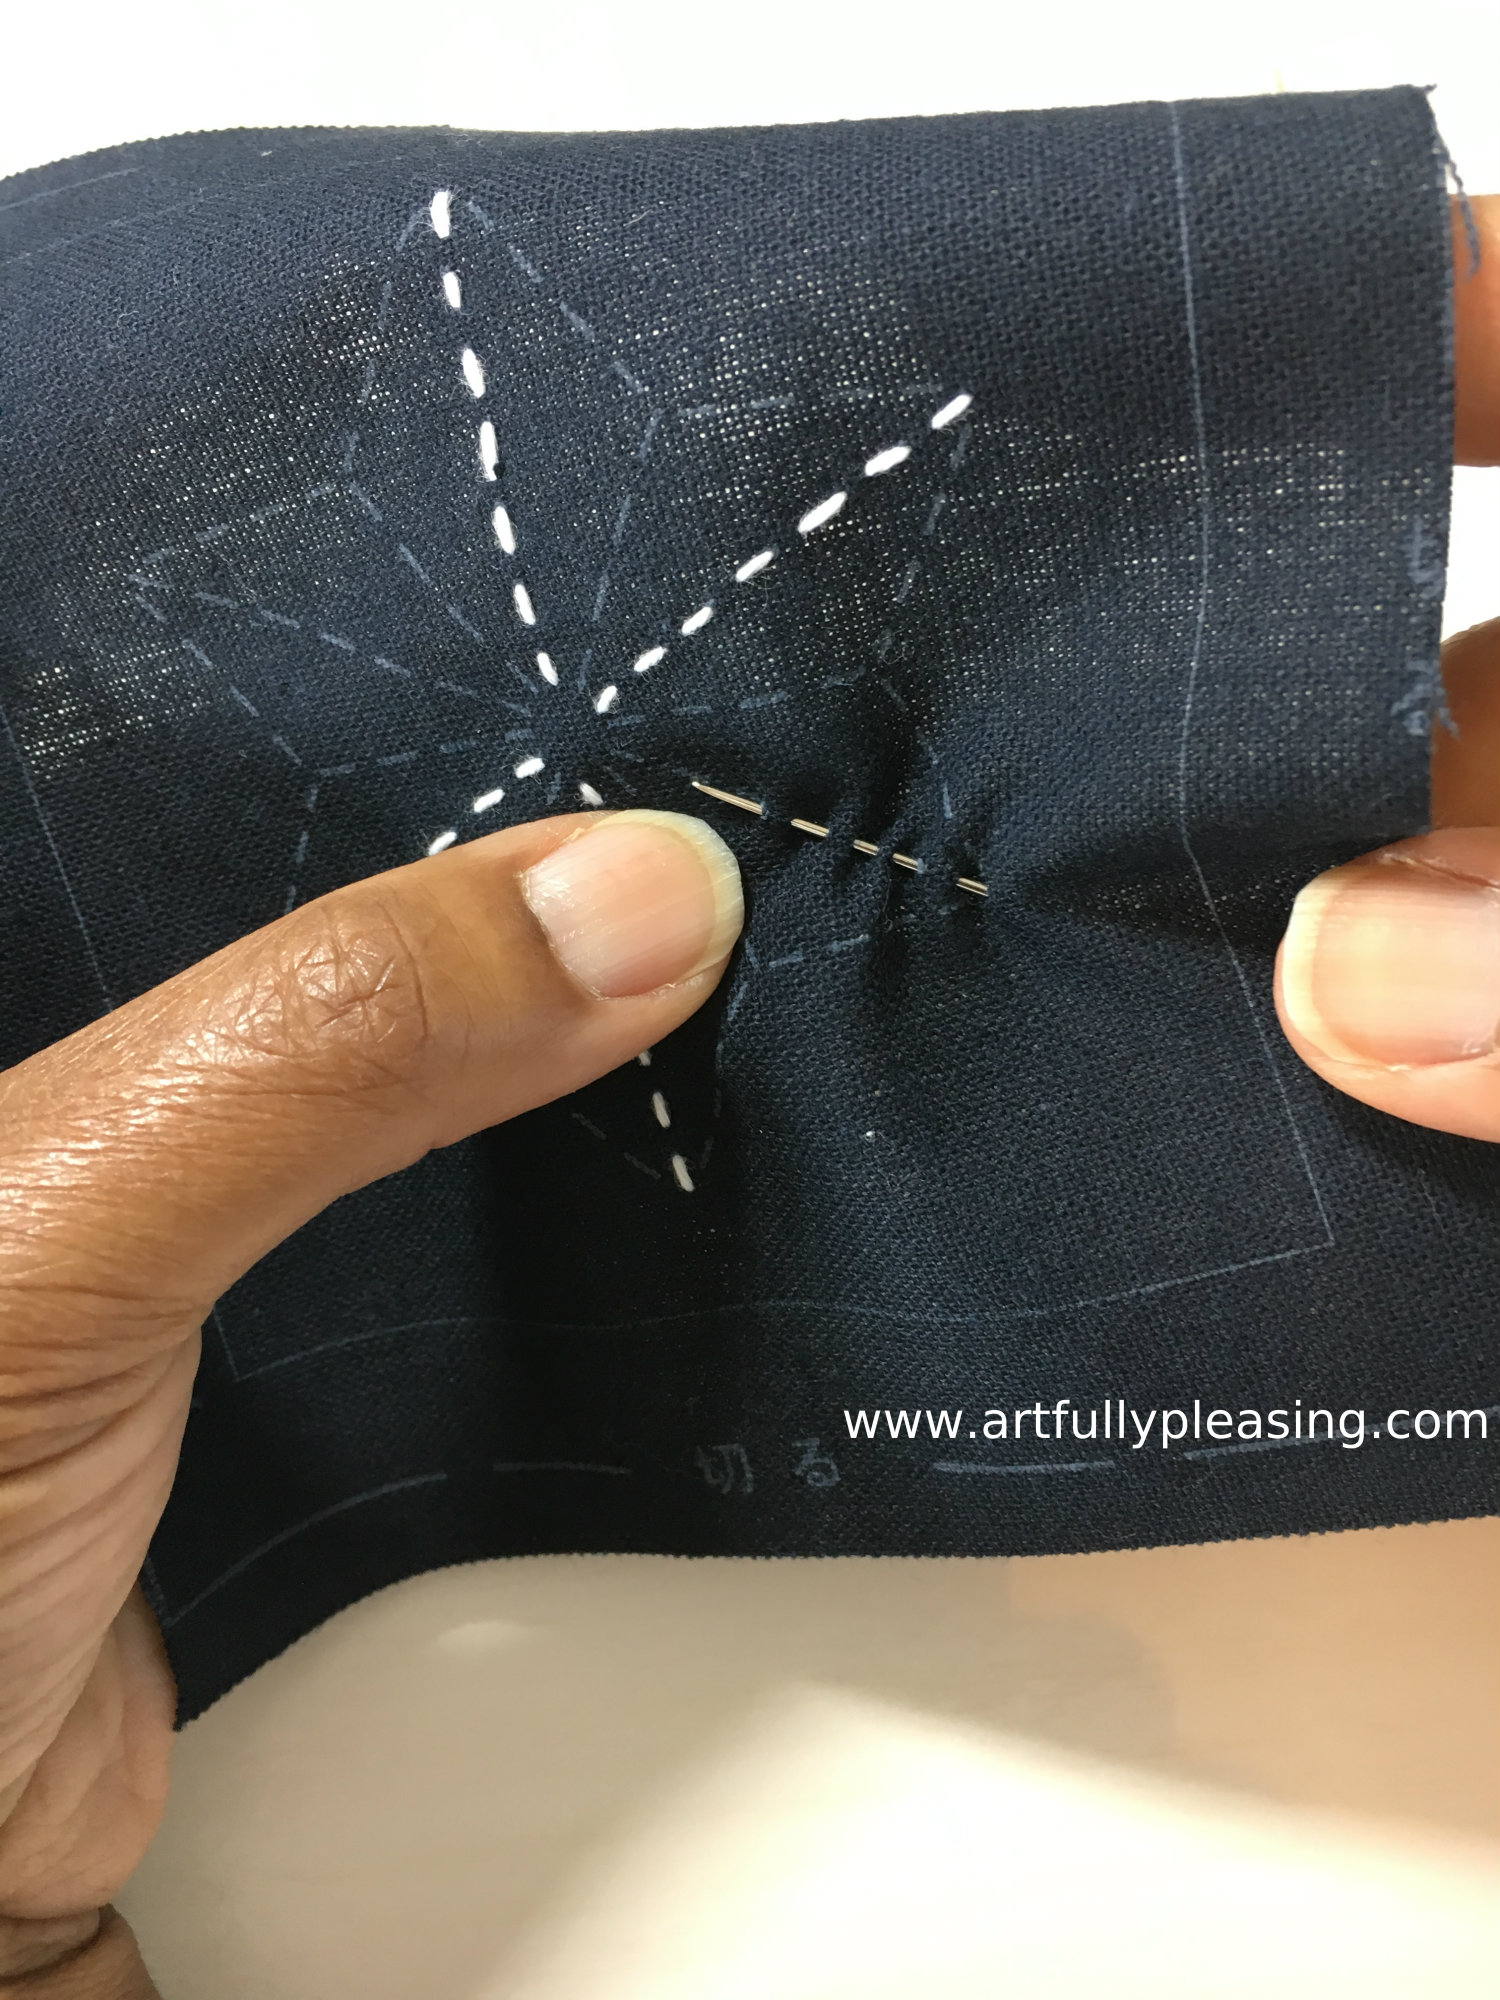
1. Cut sashiko thread about 18 inches long.
2. Tie a single knot or quilter’s knot at the end.
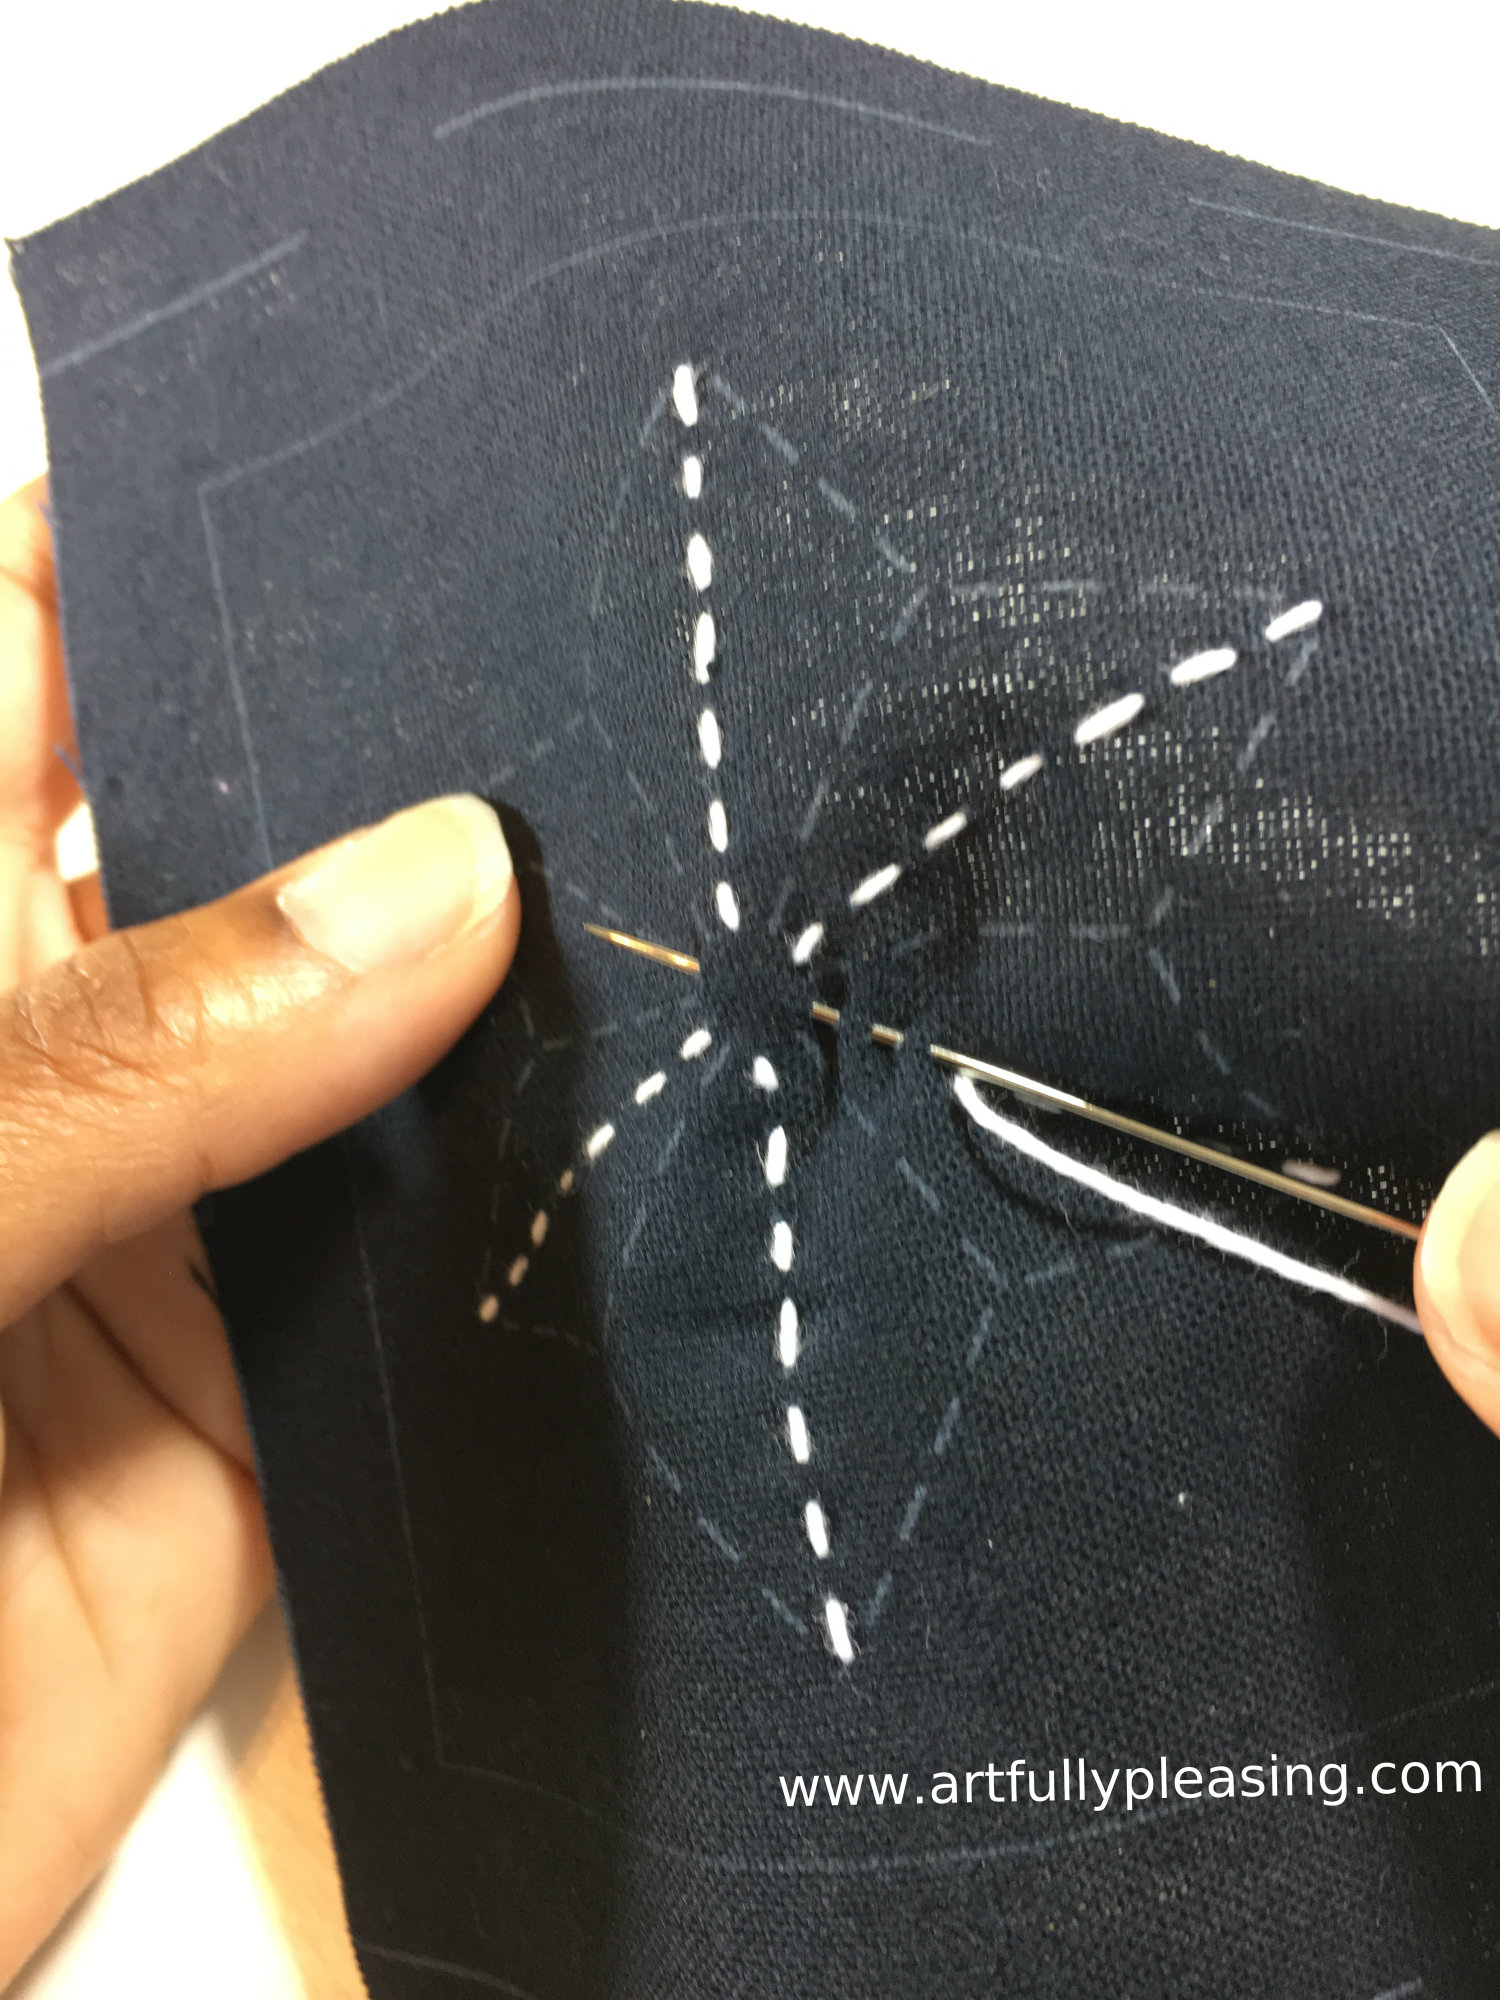
3. Start the needle from the back to the front and follow the pattern.
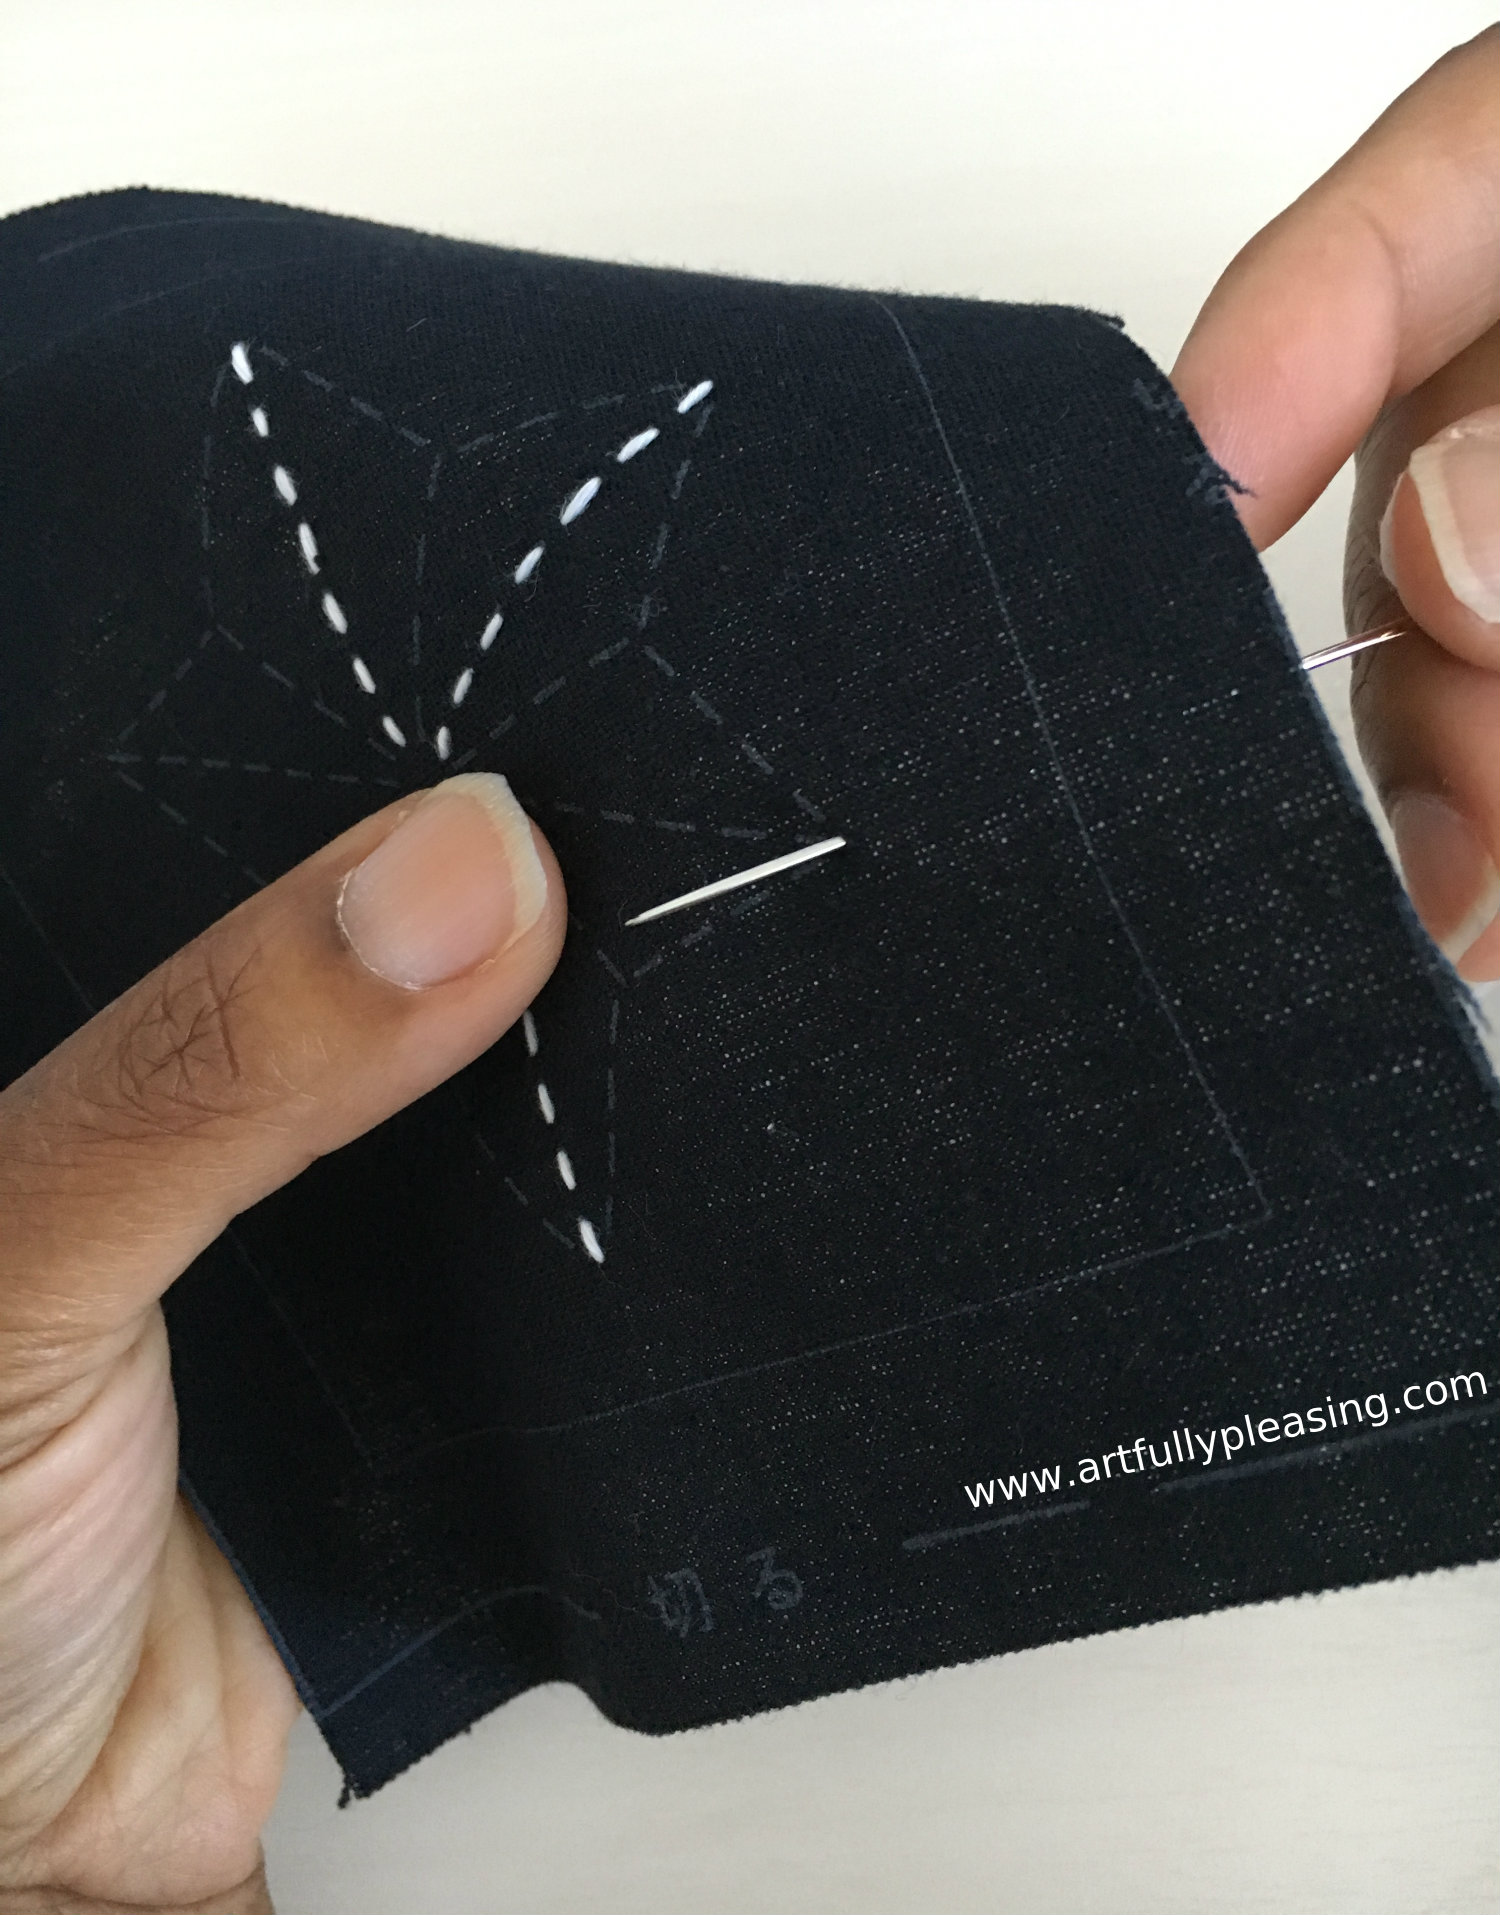 4. When you run out of thread, tie a single knot on the back. Then begin the next stitch as the initial stitch.

Tip: Smooth stitches so they do not pucker fabric as you sew. Also, you do not have to make knots on the back for every line in the design. You can skip over the space if it is one half inch or less.
 I hope you will try sashiko embroidery.
Artfully yours,
Chris